The Beauty Hacks I’ve Learned on TikTok and Instagram This Month
From curling lashes upside-down to contouring with tinted sunscreen, these five beauty hacks are game-changers.
TikTok and Instagram are brimming with bright ideas and new product innovations made to simplify and elevate our beauty regimens. Who doesn’t love a DIY moment or a little multi-purpose product action? Recently, we’ve stumbled upon five game-changing beauty hacks that are worth giving a shot, from curling lashes upside down (er, sort of) to contouring with sunscreen.
RELATED: The Products You Need for TikTok’s Ultimate “Everything Shower”
Ready to try these beauty tricks for yourself? Scroll on for all the details.
Get a flawlessly blended smokey eye by applying a dark base
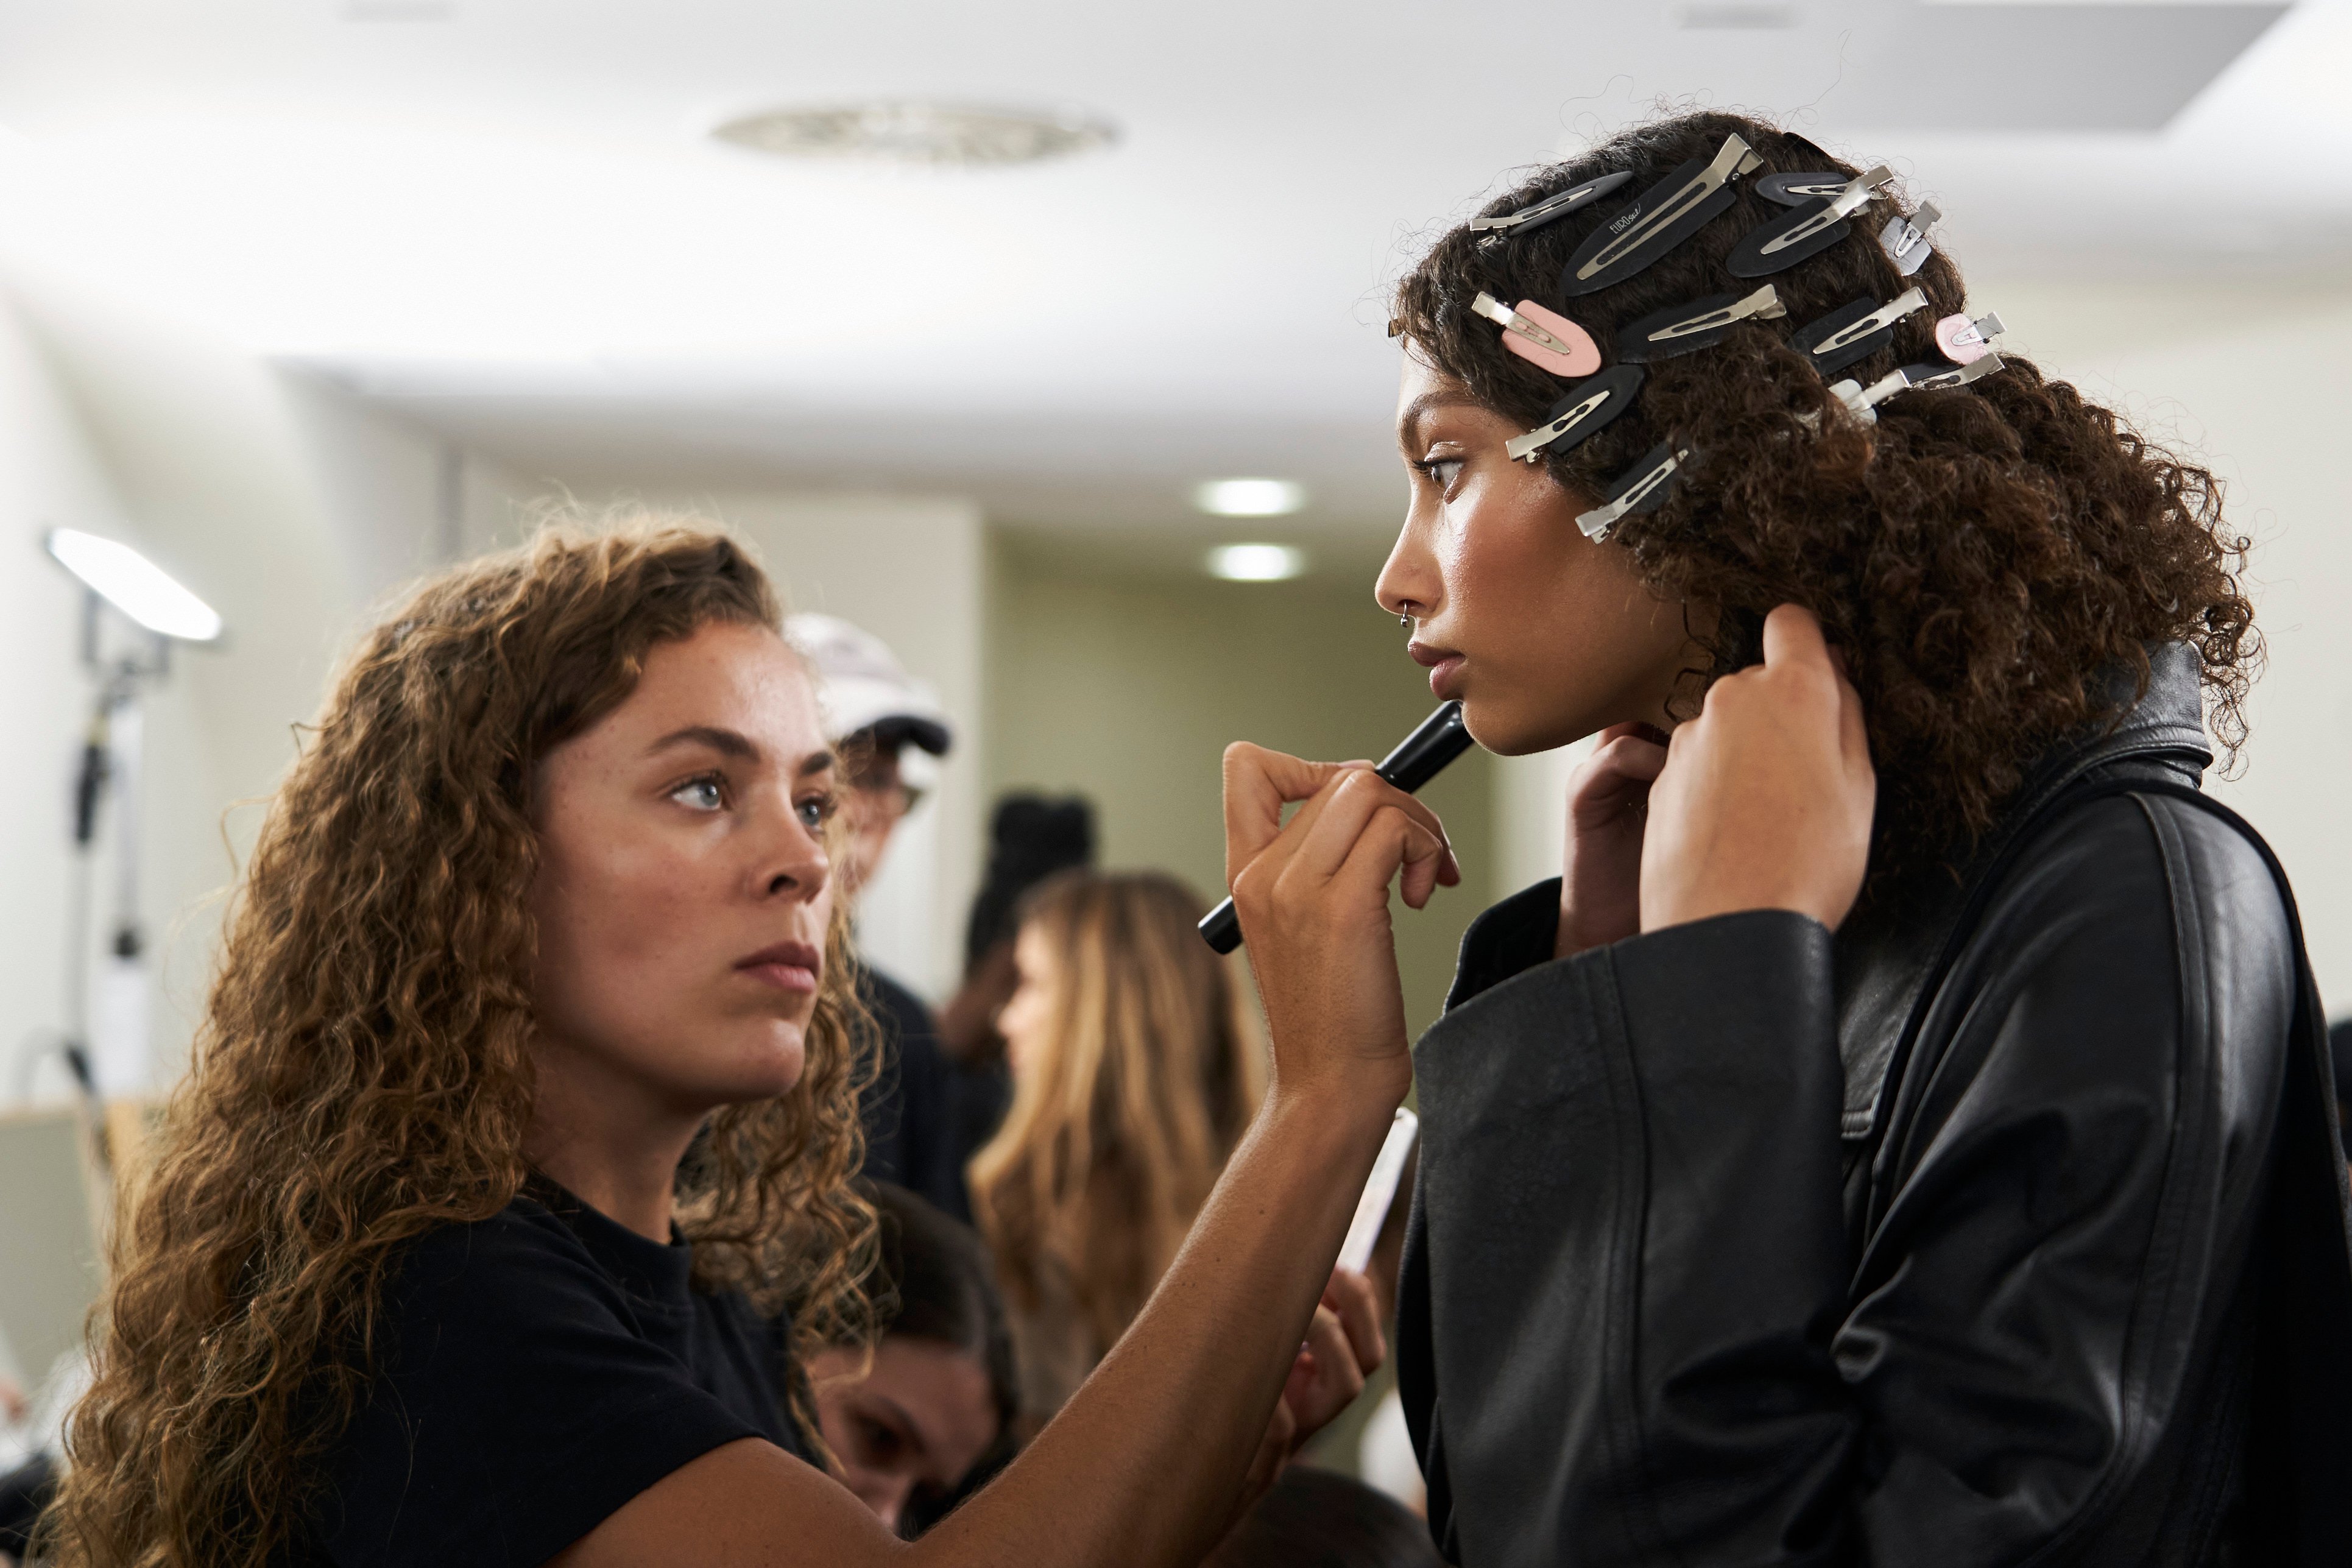
When it comes to achieving the ultimate sultry smokey eye, there’s a fine line between a look that has a deliberately dishevelled edge and one that goes overboard with a little too much black eyeshadow. Typically, the shadows are placed over a light base of concealer (that matches our under-eyes) which makes every swipe of dark shadow pop in contrast — sometimes to our detriment when we’re trying to create a seamless blend. To help us find the perfect balance for a polished yet smoked-out look, we’re taking advice from Toronto-based makeup artist Kevin Kodra.
In his TikTok tutorial, Kodra recommends reaching for a concealer that is much darker than your usual under-eye shade and popping that on the lid to act as your base. “sThis is going to make blending that dark eyeshadow on your eyes way smoother. It’s going to add that transition to your eyes that’s going to make blending a dream,” says Kodra in the video. Set your concealer base with bronzer (instead of a lighter shade of powder), then proceed with your usual concoction of smokey eyeshadows, et voilà! You’ve got yourself a flawlessly blended eyeshadow look with a naturally smokey finish thanks to Kodra’s expertise.
Achieve your longest-looking lashes by…curling them upside down?
Want to take your eyelashes to next-level lengths? Curling your lashes upside down may just be the beauty hack for you — but it’s not exactly what it sounds like. In a viral video with seven million views, TikTok creator @audboos shows us how. Boos begins by flipping her lash curler upside down and over her eyelid, noting that you want to emphasize clamping the “mid-shaft to ends” of your lashes as opposed to the root. After straightening out your lashes with this upside-down technique, return to curling right side up at the root. Once your lashes have been curled to capacity, apply a few coats of your favourite mascara (Boos’s pick is Fenty Beauty’s Hella Thicc mascara) and witness your newly achieved lash length.
In her video, Boos compares her regularly curled lashes on one side to her upside-down technique on the other and the result is undeniably longer, wispier-looking lashes. “It’s insane, even if I load this [regularly curled] side up with mascara, it does not get as long as the one I curled upside down,” she tells her followers. Of course, you want to be safe and gentle giving this trick a try, but if you can successfully do so — we think this may change your lash game forever. No falsies necessary.
Contour with tinted sunscreen
It feels like the internet is forever finding new ways to contour — but this is one hack we can get behind, especially as we settle into spring and ease into summer. On Instagram, beauty expert Carly Cardellino shows followers how to achieve a naturally contoured look using two different shades of tinted sunscreens (she uses Supergoop’s Glowscreen). You want to begin by using a shade that is closest to your complexion — the lighter of the two sunscreens you’ll need — as a highlighting base all over the face so that your skin is glowy and evenly protected. Then, apply your darker sunscreen to the areas where you would usually apply bronzer. For Cardellino, this means under the cheekbones, around the perimeter of the forehead, and along the jawline. Follow up by buffing and blending out the darker shade, and you’re left with a sculpted, luminous sunscreen contour look.
Volumize curly roots with this crisscross claw clip technique
As a curly girl who loves a bit of volume myself, this hair hack had no doubt reached its target audience when it landed on my FYP. Racking up three million views and counting, this viral video by @bali_curls demonstrates how to add volume to the roots of curly hair with a single claw clip. As seen in the video, start with freshly styled hair following your usual curly hair routine, and begin to crisscross small pieces of hair (as gently as you can without disrupting your curls) at the top and centre of your head until you reach your forehead. Grab a claw clip to hold your overlapped pieces of hair in place until your hiar fully dries, and observe a voluminous cascade of curls upon unclipping your dry hair. Game-changer!
Give at-home nail art a try with paint markers
While we can all appreciate stunning salon nail art, it’s never as easy as it seems to recreate these looks at home. Hand-drawn nail art designs are trending once again (did anyone else obsess over nail art tutorials on YouTube years ago?), only this time, we don’t have to buy nail art pens. In a viral TikTok video by @sarahbetts, she reveals how Amazon-bought paint markers are a DIY lover’s new best friend when it comes to creating nail art. From seasonally-appropriate floral patterns to colourful French tips, practically any design you can dream up is possible to create using these markers on top of painted nails. After you’ve drawn on your desired design and let it dry down, coat your nails with a gel polish top coat and seal it all in beneath a LED/UV nail lamp light. It’s that simple! Now, if only we can find a hack for painting and doodling nail art designs with our non-dominant hand…

